
“O Christmas tree, o Christmas tree
How lovely are thy branches…” …and bright and sparkly and decorated! And how we love to make a DIY Christmas tree!
This is the time of year where parent’s usually attend Nativity concerts and Christmas carol services and and and…
My husband and I always look forward to it so much! It’s so precious to see the little kiddies dressed up (often as angels! Ha!- even if it’s just for a few minutes! 😂) It’s also an opportunity to reflect on how much they’ve grown during the year!
However – the other reason we always look forward to it is because the playgroup always has a very special Nativity! The mommies and daddies are asked to bring a plate of eats (either savoury or sweet!) and decorate it festively. Everyone does and it is great to get into the holiday spirit! There are prizes for 1st, 2nd and 3rd place. It’s such fun as the parent’s really go to town and create the most spectacular dishes!
This year I was given a savoury dish to create. I decided to rather try do something different with my setup, rather than with the food. It really is quite difficult to come up with something creative for a Christmas savoury dish!
After some deliberation, lots of Pinteresting (is that even a word? 😂) I decided to make mini savoury quiches. However, I wanted to display them in an unusual way – in tins hanging from a “Christmas tree”!
Enter the DIY Christmas tree – and my husband…! Ha-ha, poor guy! I always seem to come up with ideas that involve work for him!!! 😅
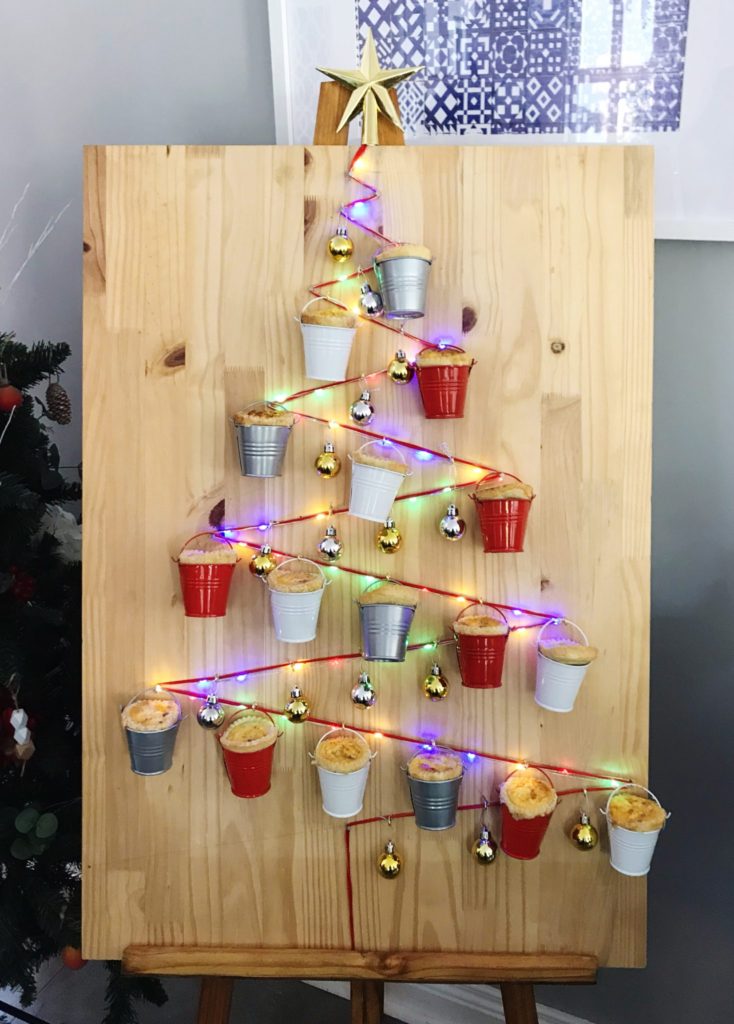
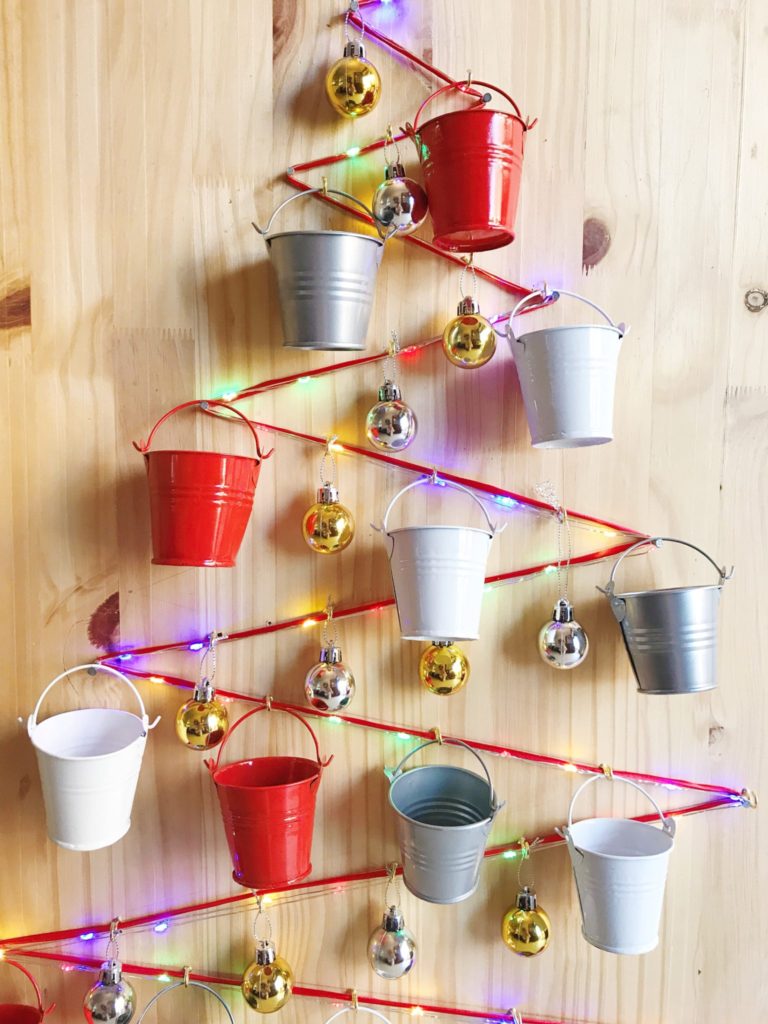
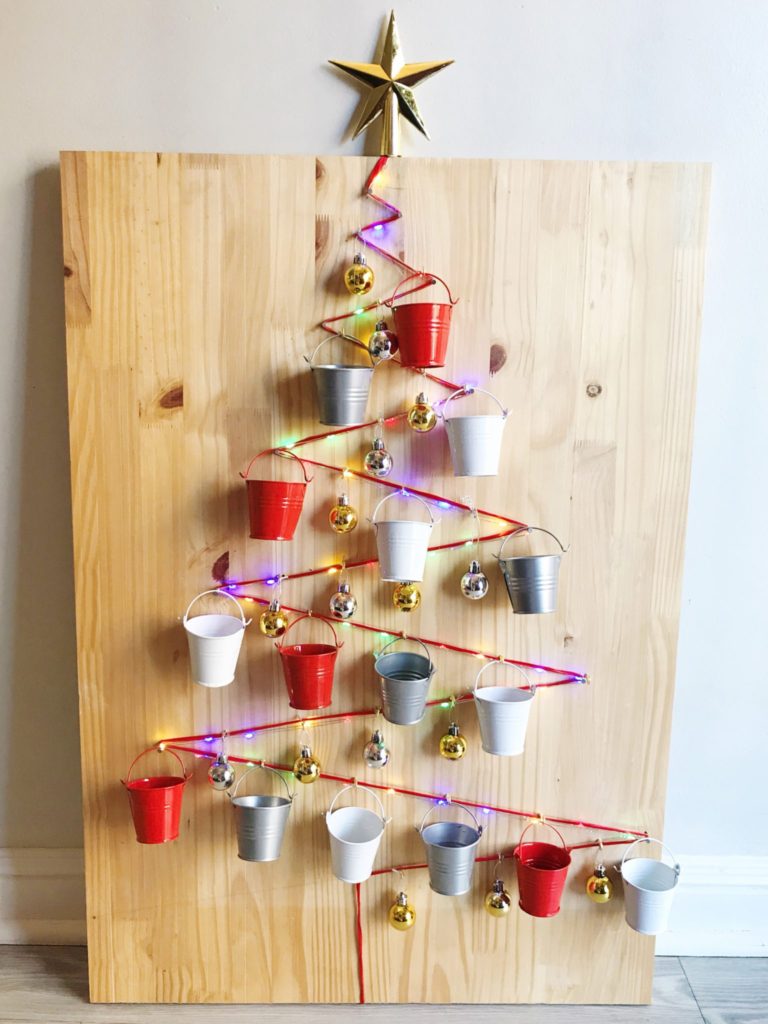
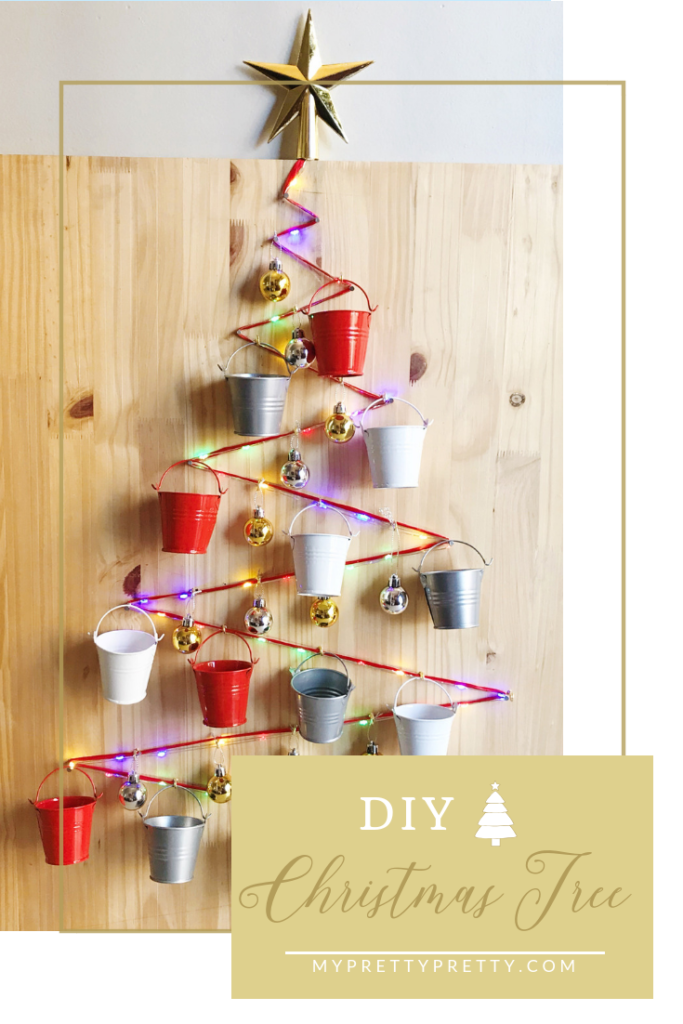
Here’s a look at the finished DIY Christmas tree board!
So – let’s get into the how to DIY a Christmas tree, shall we?
How to make a DIY Christmas Tree
Supplies for a DIY Christmas Tree
To make it you will need:
- Board of wood – approximately xx X xx
- Nails
- Pencil for drawing the outline of tree
- String of battery operated lights (5 meters long)
- Ribbon of your choice
- Prestik
- Star for on top of the tree
- Small hooks for hanging tins
- Small tins (purchase here)
- Baubles for decoration (if using)
Method to make a DIY Christmas tree
To make:
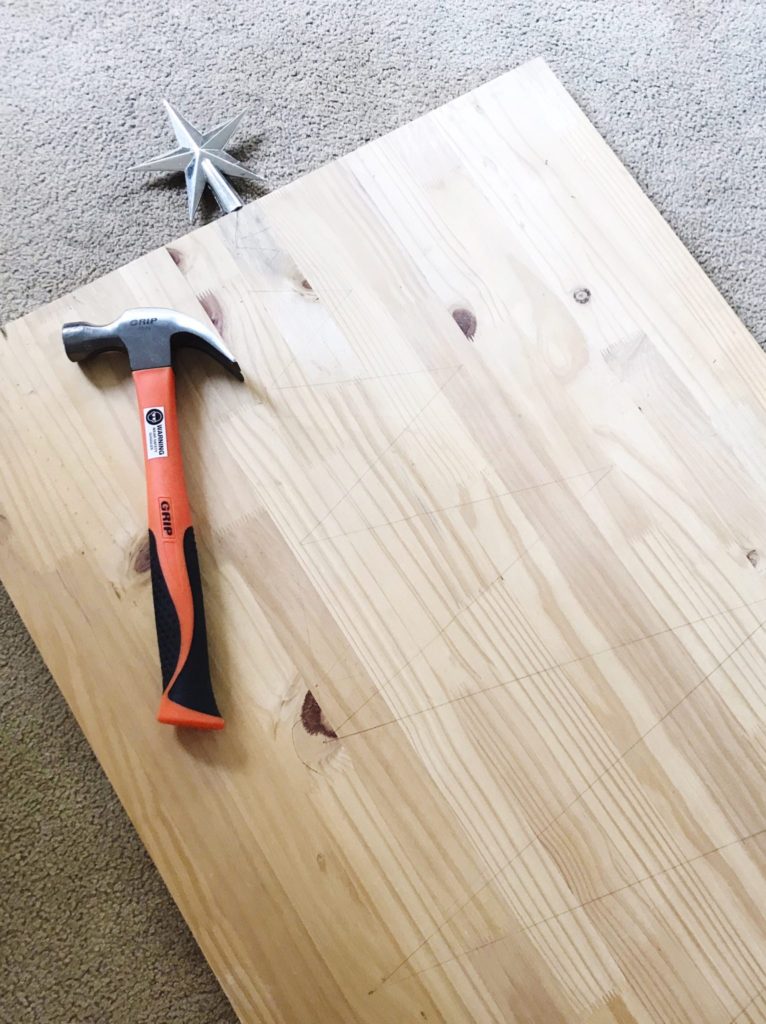
Have a board cut at your local hardware store according to your measurements. We used a pine board measuring 600 x 870mm.
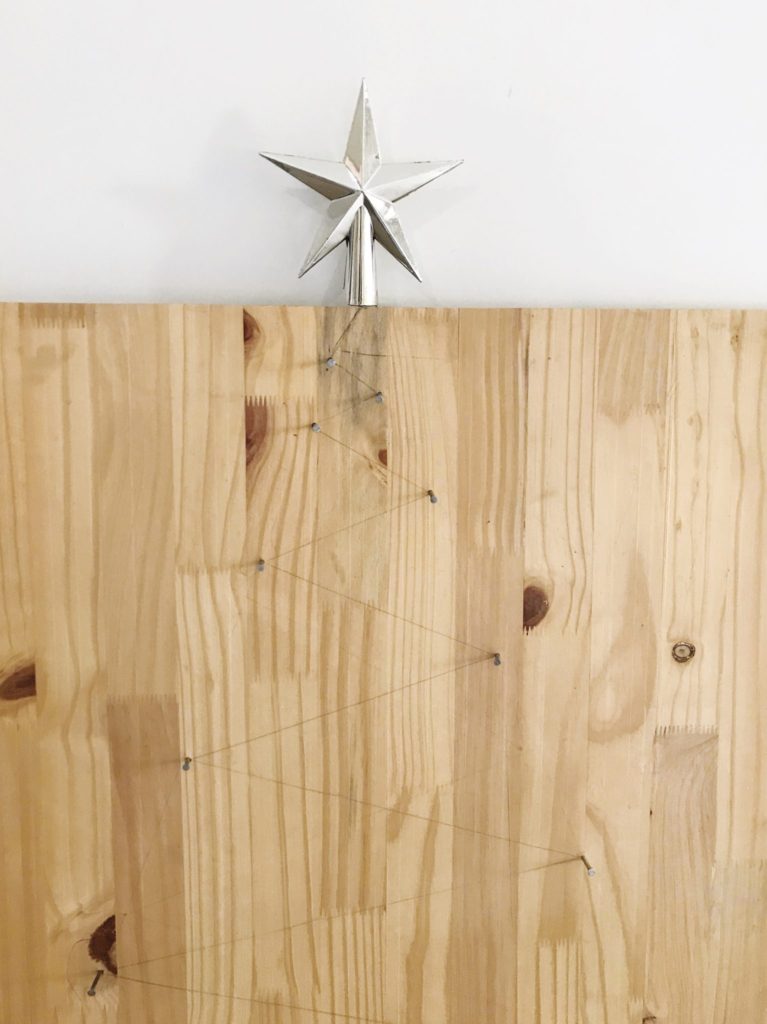
Next you need to hammer a nail into the top centre of your board for your star. We just used a bit of Prestik to hold the star in place once our nail was in…🙊
Once that is done – you need to mark out your tree on your board. Start at the bottom of the tree. Mark a line in the centre of your board for your base. Next draw a triangle for your tree (middle points and top centre).
Once you have the outline of the tree, you can work on the zig-zag lines.
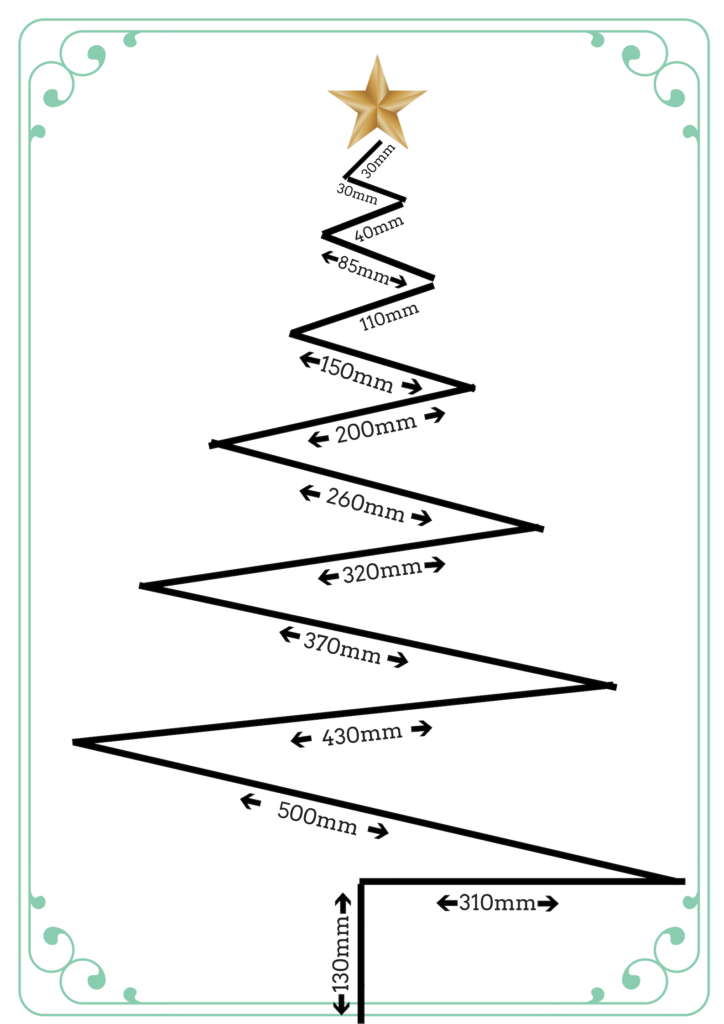
Start at the base of your tree and draw a diagonal line upwards. With each line, decrease your spacing slightly (we found that this looks best visually!)
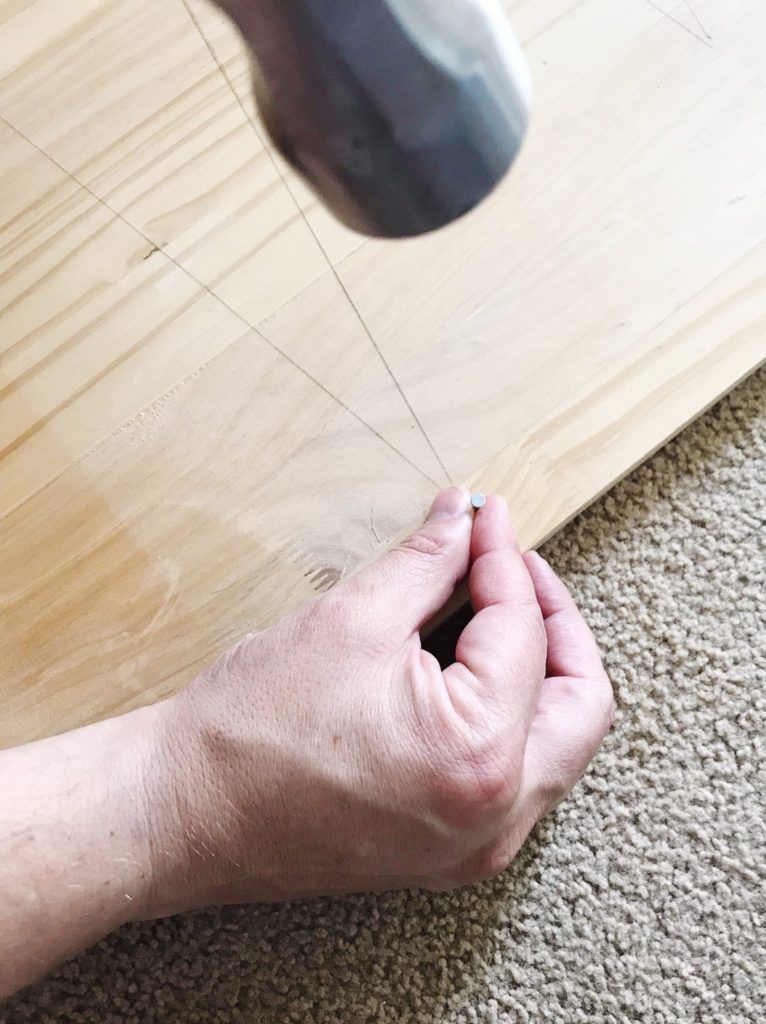
Now hammer/drill in your nails for each point of the tree.
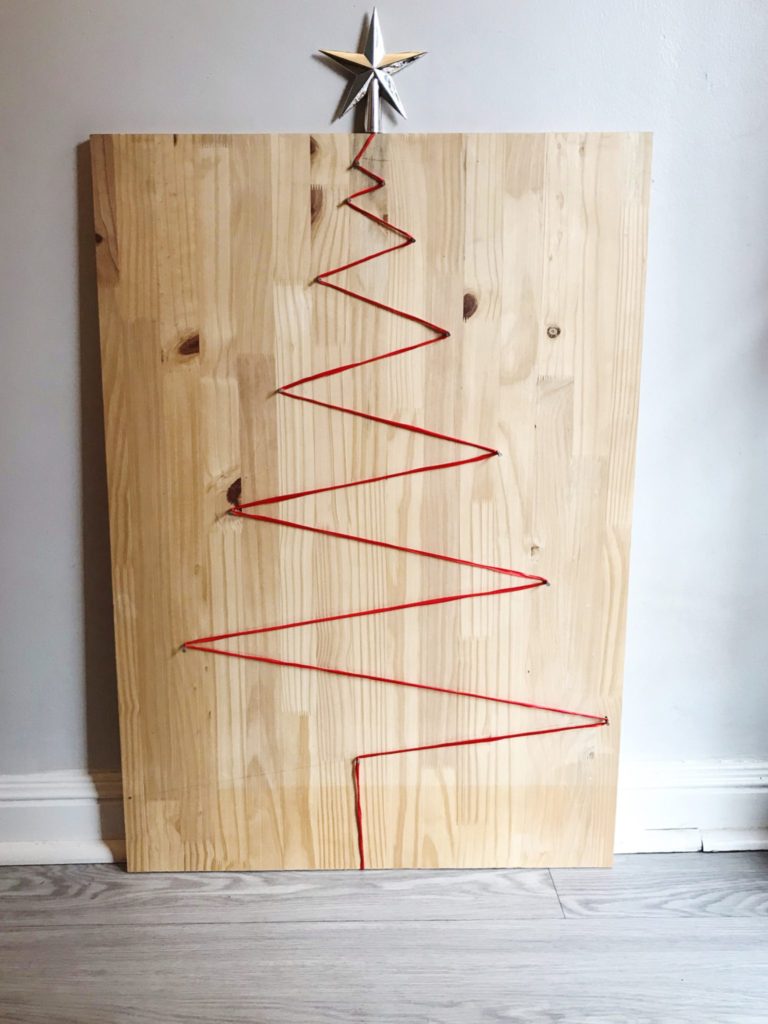
Next – take your ribbon and start by securing it at the top under your star, then work your way down the tree. Loop your ribbon around each nail as you go.
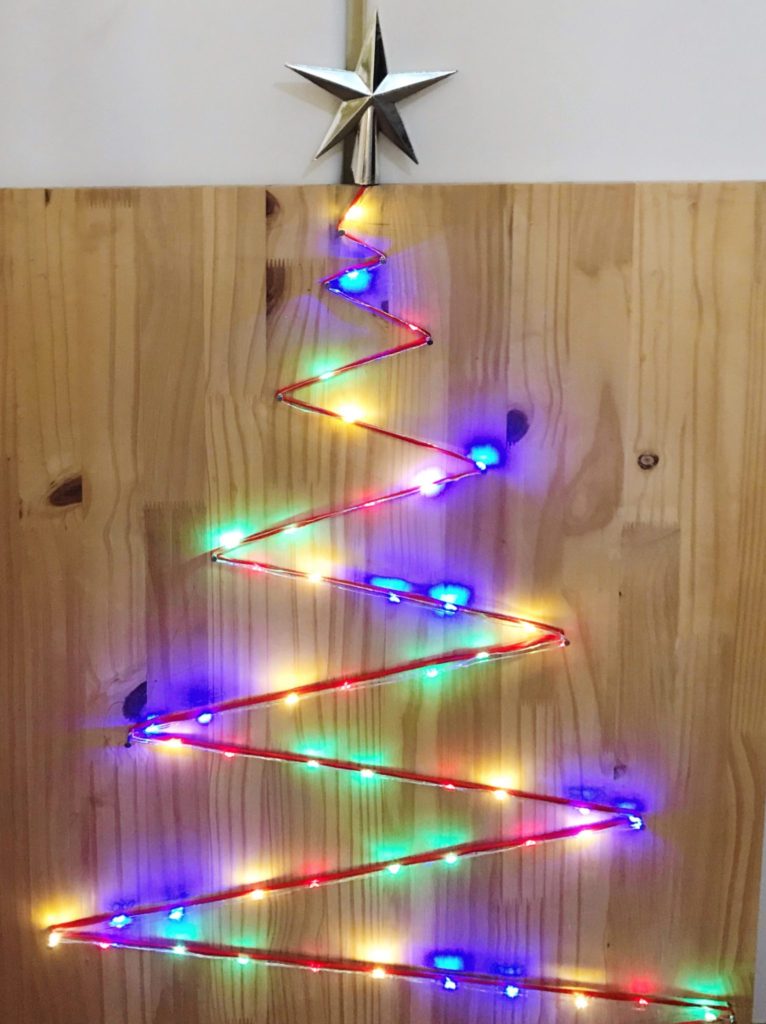
Repeat the same process as with the ribbon for the lights. But this time start start at the bottom of your tree so that you can end with the battery box secured behind the top of your tree. (We also doubled our light on the bottom few lines, so that there were a few more lights along the longest lines – it just helped with making it look a bit fuller!).
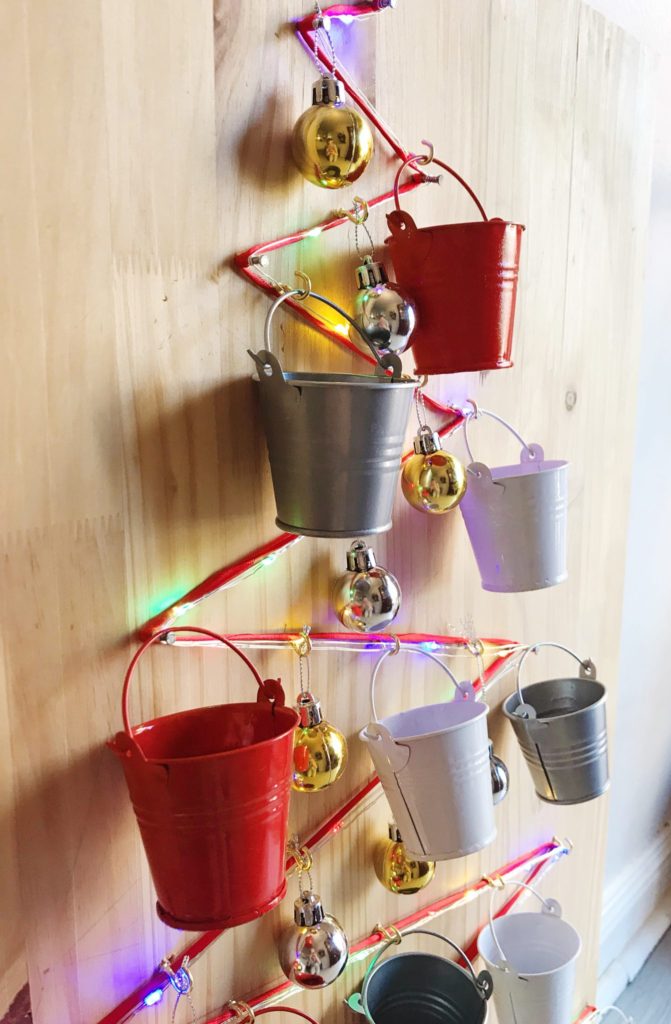
Then add your screws for your tins. Lastly add screws for your baubles to fill in any empty spots – and there you have it!
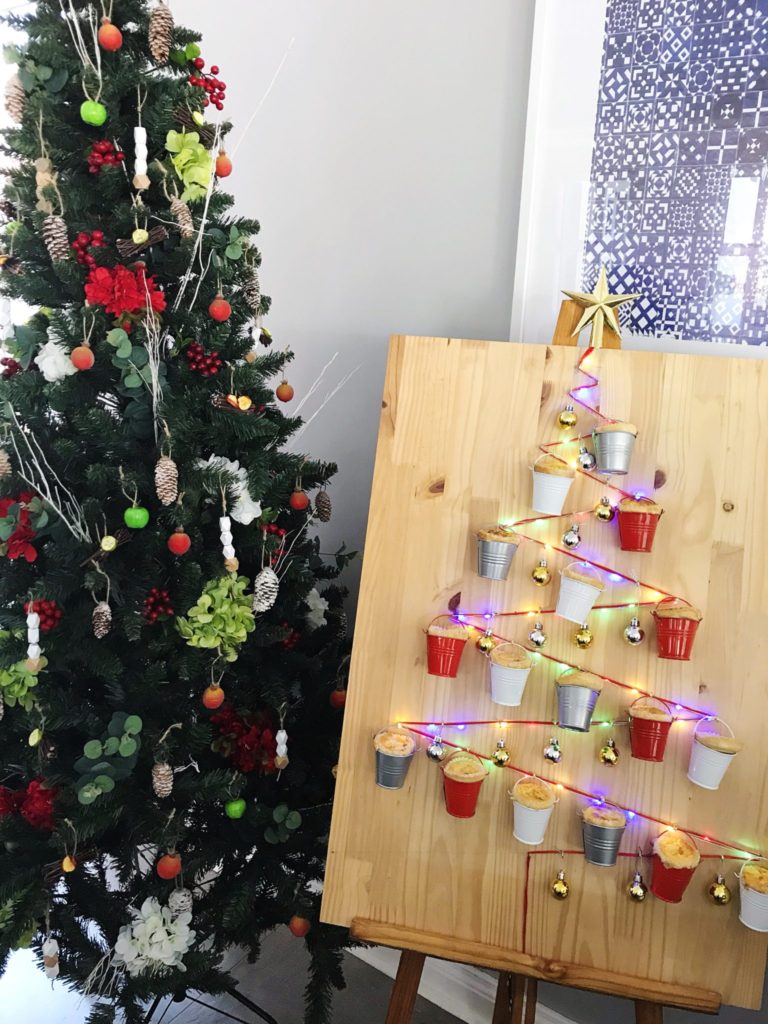
This tree would be great to use for so many different things – it doesn’t only need to be used for displaying food, but could also be used as a fun advent calendar, or for a novel way to tell guest your table seating arrangements!
Any other ideas for what you would use it for?
So – that’s it for now and I’ll leave you to happy creating!

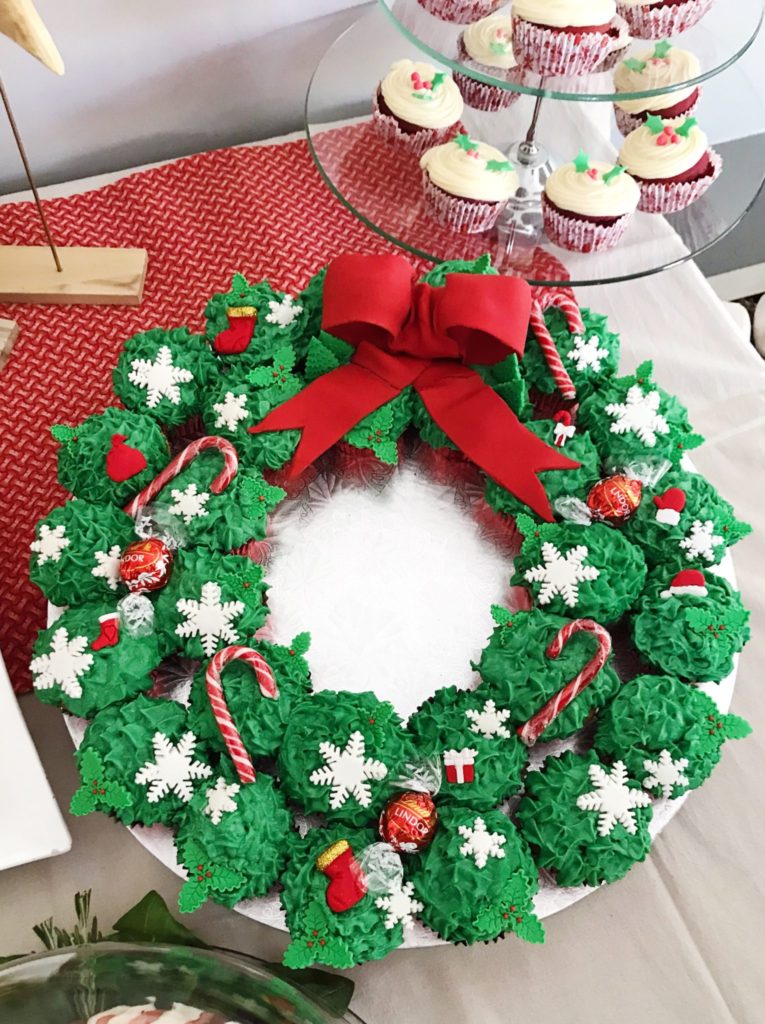
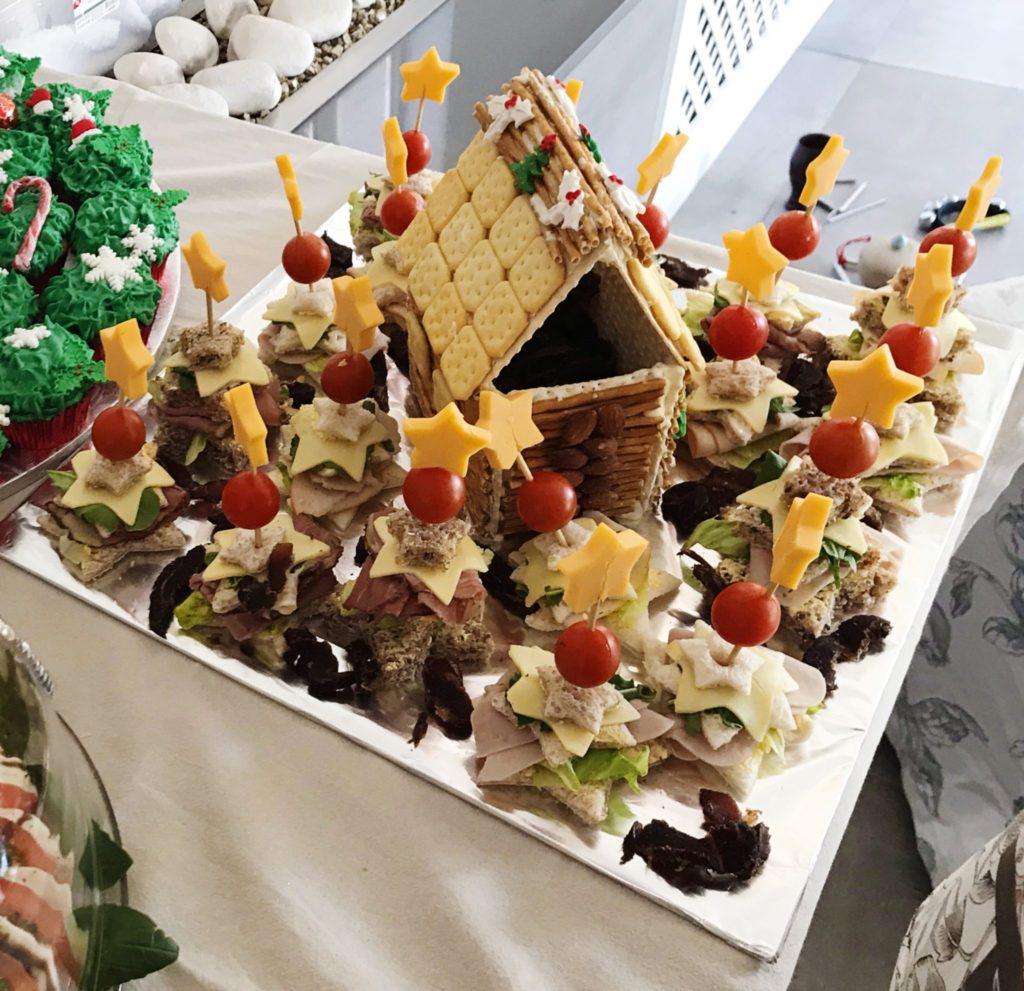
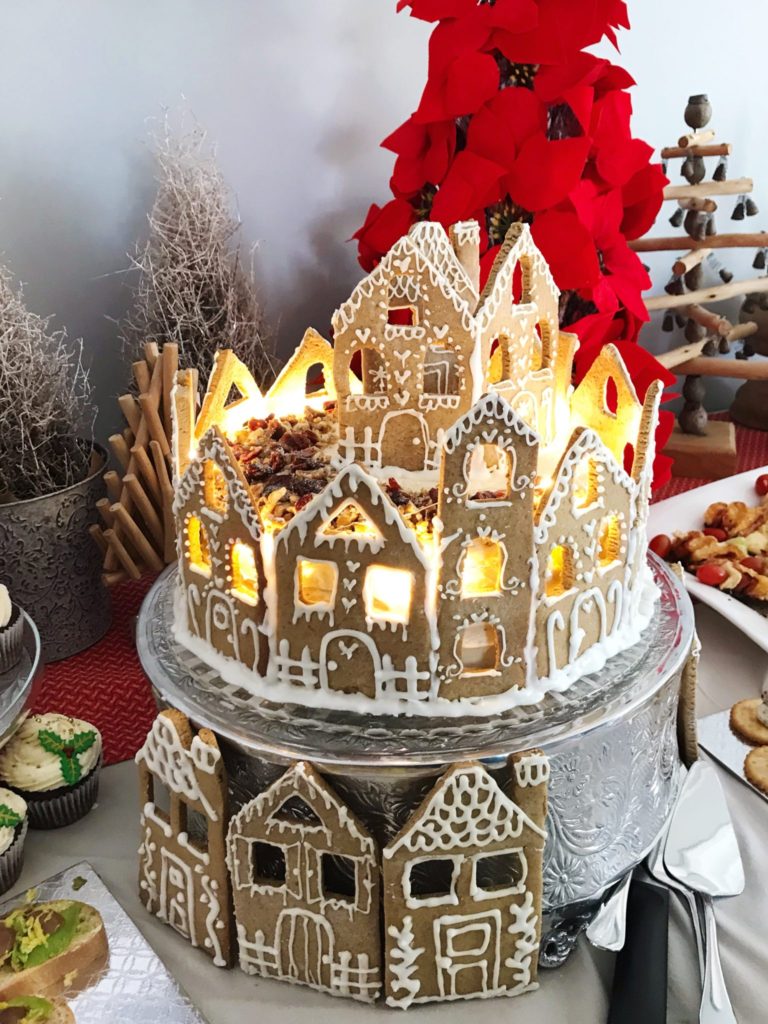
Gorgeous Christmas spread for Nativity concert
Here’s a peak at some of the other gorgeous creations from the Nativity concert…aren’t they amazing?


You might also like A special kiddies Christmas party